
You just unboxed it: a brand new, top-of-the-line gaming mouse with a flawless sensor and a sky-high DPI rating. You plug it in, load up your favorite shooter, and jump into a match, expecting your aim to be instantly god-tier. Instead, it’s a disaster. Your crosshair either feels like it’s stuck in mud or it flies wildly across the screen with the slightest twitch of your hand. This frustrating experience is the starting point for every serious gamer’s journey into the great debate of High DPI vs. Low DPI. This guide is your key to finally solving that puzzle. We will demystify the secret language of your mouse’s settings and provide you with a simple, step-by-step mission to find the perfect sensitivity for your unique aim.
This is not just another technical breakdown. This is your practical, hands-on guide to achieving perfect mouse control. We will start by explaining the core concepts in the simplest terms: what DPI actually is, how it interacts with your in-game sensitivity, and how to calculate your “eDPI”—the one true number that defines your aiming speed. From there, we will give you a universal, game-agnostic method that you can use to find your own perfect sensitivity from scratch. You will need a way to check your mouse’s hardware settings, and a great place to start is with a simple mouse DPI test to see what your current baseline is. By the end of this guide, you won’t be guessing at your settings or copying the pros; you’ll have the knowledge to calibrate your aim with scientific precision.
The Real “Secret”: Why eDPI is the Only Number That Matters

To master your aim, you first have to speak the language of your mouse. The terms DPI, Sensitivity, and eDPI get thrown around constantly in the gaming community, but most players have a fuzzy, incomplete understanding of what they actually mean and how they work together. The truth is, focusing on just one of these settings is a massive mistake. Getting these three concepts straight is the absolute foundation of building a consistent and accurate aim.
What is Mouse DPI? (Your Mouse’s Engine Power)
DPI, or Dots Per Inch, is a hardware setting that measures how sensitive your mouse is to physical movement. Think of it as your mouse’s raw “engine power.” A higher DPI means your mouse’s sensor is more sensitive; for every inch you physically move the mouse on your desk, the cursor will travel further on the screen. A mouse set to 800 DPI will move the cursor 800 pixels for every inch of movement. At 1600 DPI, it will move 1600 pixels. This is a hardware-level specification, the raw speed setting of your mouse before any software gets involved.
What is In-Game Sensitivity? (Your Aiming Gearbox)
In-game sensitivity is a software setting within your game that acts as a multiplier for your mouse’s DPI. If DPI is the engine power, your in-game sensitivity is the gear you’re in. For example, a sensitivity setting of “2” in a game will take your mouse’s DPI signal and make your aim twice as fast. A setting of “0.5” will make it twice as slow. This is why two players with the same DPI can have wildly different aiming speeds—it’s all because of this in-game software multiplier.
The Magic Formula: How to Calculate Your eDPI (Effective DPI)
This is the most important concept in this entire guide. eDPI, or Effective DPI, is your true sensitivity. It is the single number that tells you how fast your aim actually is, combining both your hardware and software settings. The formula is simple:
eDPI = Mouse DPI x In-Game Sensitivity
For example:
- Player A: 800 DPI x 2.0 in-game sens = 1600 eDPI
- Player B: 1600 DPI x 1.0 in-game sens = 1600 eDPI
Even though their settings are completely different, both players have the exact same “true” sensitivity. This is why just copying a pro’s DPI is useless. You must know their in-game sensitivity to calculate their eDPI, which is the only number that matters. While other technical settings like the mouse’s report speed, which you can verify with a polling rate checker, affect responsiveness, eDPI is the king of speed.
A Personal Confession: The High-DPI Myth I Believed for Years
For years, I played on a ridiculously high sensitivity. I had a “gaming” mouse that advertised a massive 6400 DPI, and I thought a bigger number meant better performance. In-game, my aim was a mess. I was incredibly inconsistent; one moment I’d land an amazing flick shot, the next I couldn’t even track a slow-moving target. It was frustrating. My “aha!” moment came when I learned about eDPI from a guide similar to this one. I did the math and discovered my true sensitivity was over 10,000—more than five times what most pros use. It was a humbling discovery. I cut my DPI to 800 and started the process of finding a new, lower sensitivity. The first few weeks felt like learning to aim all over again, but the difference was night and day. My aim became smoother, more deliberate, and far more consistent.
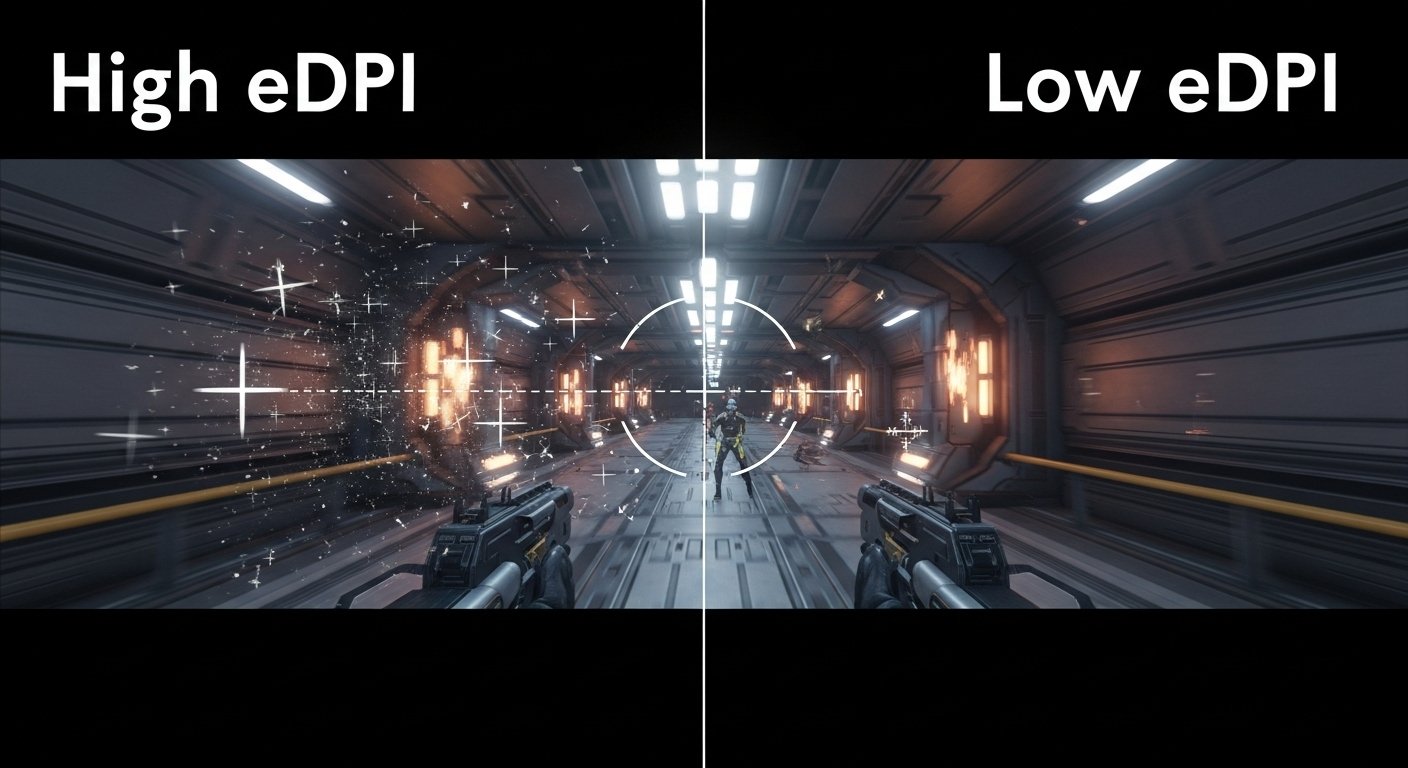
The Great Debate: Arm Aiming (Low eDPI) vs. Wrist Aiming (High eDPI)

Once you understand eDPI, the next question is simple: should your number be high or low? This is the fundamental choice that will define your aiming style, your muscle memory, and your overall consistency. There is no single “correct” answer, but understanding the pros and cons of each approach is essential to making an informed decision that complements your playstyle.
The Case for a Low eDPI: The Path to Unshakable Consistency
A low eDPI (typically below 3200 for most FPS games) forces you to use your entire arm for large movements.
- How it works: To do a 180-degree turn, you will make a large, sweeping motion with your arm from your elbow and shoulder. For small, precise adjustments, you can still use your wrist and fingers. This style of “arm aiming” requires a large mousepad but offers incredible control.
- The Benefits: The large muscles in your arm are designed for smooth, deliberate motion and have more refined motor control than the small, twitchy muscles in your wrist. This leads to smoother tracking, more consistent flick shots, and rock-solid muscle memory. You are essentially “drawing” your aim onto the target, a more repeatable motion that is key to improving your overall mechanical skill.
The Case for a High eDPI: The Need for Speed and Reactivity
A high eDPI (typically above 4000) allows you to aim primarily with small, quick motions from your wrist.
- How it works: All of your aiming movements, from tiny adjustments to large turns, are controlled by your wrist. This requires very little desk space.
- The Benefits: Wrist aiming is incredibly fast. You can react to being shot from behind and spin 180 degrees in an instant. This style can feel more natural for players who are used to high sensitivity from desktop use and is often favored in fast-paced arena shooters or games that require less pixel-perfect precision. The downside is a significant loss of consistency, as it’s much harder to make precise micro-adjustments with your wrist.
Why Over 90% of Pro FPS Players Choose a Low eDPI
If you look at the settings of professional players across almost every major FPS title, from Valorant to Apex Legends, you will find one overwhelming trend: they almost all use a low eDPI. Why? The answer is one word: consistency.
Pro players know that winning a tournament isn’t about landing one flashy, impossible flick shot. It’s about reliably hitting the 99 easy and medium-difficulty shots, round after round, under immense pressure. Arm aiming with a low sensitivity is simply a more stable and repeatable physical motion. It builds more reliable muscle memory and reduces the margin for error, a principle well-documented by countless esports analysts. For them, aiming is a science, and a low eDPI is a critical part of a controlled experiment, just as legendary tools like the Kohi Click Test were used to benchmark raw mechanical skill.
Your Step-by-Step Mission: Finding Your Perfect eDPI in Any Game

Finding your perfect sensitivity is not an art; it’s a science. Instead of randomly guessing or blindly copying settings from a pro player, you can use a simple, methodical process to zero in on the eDPI that is perfectly calibrated for your arm, your mouse, and your playstyle. This universal mission works for any FPS game and will give you a solid foundation that you can then fine-tune to perfection.
H3: Step 1: Set Your Foundation (Pick a DPI and Stick to It: 800 is the Gold Standard)
Before you touch any in-game settings, you must set your mouse’s hardware DPI. The goal here is to pick one setting and never change it again. All your future adjustments will be done using the in-game sensitivity slider, which offers more granular control.
Choose one of the common, native DPI steps for your mouse: 400, 800, or 1600. While any of these will work, 800 DPI is the modern gold standard. It provides a smooth desktop experience and is a native sensor resolution for most gaming mice, avoiding any potential software interpolation. Use your mouse’s software to set this. If you’re unsure of your current setting, you can get a good estimate with an online mouse DPI test. Once you’ve set it, commit to it.
Step 2: The “360 Sweep” Test (Finding Your Starting Point)
Now, load into a practice range in your game of choice. The goal of this step is to find a comfortable starting sensitivity that is physically tied to your mousepad size.
- Place your mouse on the far-left edge of your usable mousepad space.
- In-game, aim your crosshair at a fixed point.
- In one single, smooth motion, sweep your mouse all the way to the far-right edge of your mousepad.
- Observe how far your character turned.
- Adjust your in-game sensitivity up or down until that single full sweep makes your character do exactly one 360-degree turn.
- Note this sensitivity number. This is your initial starting point for the next step.
Step 3: The PSA Method (A Simple Process to Zero In on Your Perfect Sens)
This is a simple process of elimination, often called the Perfect Sensitivity Approximation (PSA) method, to narrow down your range.
- Start with Your Number: Use the sensitivity you found in Step 2.
- The Tracking Drill: Pick a small, stationary object in the game (like a dot on a wall). Strafe left and right while trying to keep your crosshair perfectly locked onto that object.
- Analyze and Adjust: Pay close attention to your crosshair’s behavior.
- If your crosshair is consistently shaking and overshooting the target, your sensitivity is too high.
- If your crosshair feels like it’s lagging behind the target and you’re struggling to keep up, your sensitivity is too low.
- Narrow the Range: Let’s say your starting sensitivity was 1.5 and it felt too high. Cut it in half to 0.75. If 0.75 now feels too slow, you know your perfect setting is between 0.75 and 1.5. Try the midpoint, 1.125, and repeat the tracking drill. Keep narrowing the gap until you find a number that feels smooth and controllable.
Step 4: Fine-Tuning and Building Muscle Memory with Aim Trainers
The PSA method will get you about 95% of the way to your perfect sensitivity. The final 5% comes from feel and practice in different scenarios. This is where aim trainers are invaluable.
Load up a dedicated aim trainer like Aim Lab on Steam or KovaaK’s. Use the sensitivity you just found and play a few scenarios that involve both tracking and flicking. Make tiny, micro-adjustments until it feels absolutely perfect. Once you’ve found it, this is the most important part: stick with it. The final step is to play with this new sensitivity for at least a week to build the crucial muscle memory needed to increase your overall performance.
The Hardware Connection: Why Your Gear Dictates Your Style

Your digital sensitivity setting is only half of the equation; your physical hardware is the other half. Finding the perfect eDPI is useless if your gear actively fights against you. The aiming style you choose—whether it’s low-sensitivity arm aiming or high-sensitivity wrist aiming—is directly tied to the equipment on your desk. This connection between the virtual and the real is a critical and often overlooked part of the performance puzzle.
The Golden Rule: A Low eDPI Requires a Large Mousepad
This is the most important, non-negotiable rule of aiming. If you choose to use a low eDPI, you must have a large mousepad. There is no way around it.
A low sensitivity means that to turn 180 degrees in a game, you might need to physically move your mouse 8, 10, or even 15 inches across your desk. If your mousepad is only 10 inches wide, you will physically run out of space before you can complete the turn. You’ll lift your mouse, your aim will be ruined, and you’ll lose the fight. A small mousepad forces you into a high-sensitivity wrist aiming style whether you like it or not. Investing in a large or extra-large mousepad is the price of admission for the consistency that arm aiming provides, and optimizing your physical setup is a key part of increasing your performance.
Does Your Mouse’s Sensor Quality Matter for DPI?
In 2025, the answer is simpler than you think: as long as you are using a reputable gaming mouse, the sensor is “flawless.” The marketing war over who has the highest maximum DPI is over. What matters is that the sensor provides perfect, 1-to-1 tracking at the common DPI settings (like 400, 800, and 1600) without introducing any “smoothing” or “pixel skipping.”
The quality of a modern sensor is more about reliability than enabling a specific DPI. It’s about trusting that your mouse will track perfectly every single time. It’s also important to ensure your mouse is in good health, as hardware failures can ruin your aim. You can periodically check for issues like a faulty switch with an ultimate double-click test.
Case Study: The Day I Realized My Mousepad Was Too Small
I’ll never forget the frustration. I had just switched to a low eDPI after watching a pro player’s guide. In aim trainers, practicing controlled movements, it felt incredible. My precision was better than ever. But the second I got into a real, chaotic game, it all fell apart. I’d hear an enemy behind me, go to make a fast 180-degree turn, and thump—my hand would slam into my keyboard as my mouse flew right off the edge of my tiny, dinner-plate-sized mousepad.
I was being physically limited by my gear. The next day, I went out and bought a massive desk mat that covered a huge portion of my desk. The feeling was liberating. It felt like I had unlocked a new level of freedom in my aim. I could finally use the full range of motion that my low sensitivity demanded without ever worrying about running out of space. My performance improved almost instantly, all because I gave my arm the room it needed to work.
Common Myths That Are Wrecking Your Aim

The path to finding your perfect sensitivity is littered with bad advice and common mistakes. These myths can send you down a frustrating rabbit hole of constant adjustments, preventing you from ever building the consistent muscle memory you need to truly improve. By understanding and avoiding these pitfalls, you can save yourself months of wasted effort.
Myth #1: A Higher Mouse DPI is Always Better
This is the biggest myth in the world of gaming mice, and it’s driven by marketing. Companies love to advertise massive DPI numbers (20,000 or more!) as if it’s the most important performance metric. It is not.
Extremely high DPI settings can actually be detrimental to your aim. They can introduce sensor jitter (a shaky cursor) and often rely on software smoothing to remain stable, which adds input lag. There is a reason why virtually no professional player uses a DPI above 1600. It’s much better to use a moderate, native DPI like 400 or 800 and use your in-game sensitivity for adjustments. A higher DPI does not mean you have a better mouse; it’s just a bigger, often less useful, number.
Myth #2: You Should Just Copy Your Favorite Pro’s Settings
It’s tempting to look up the settings of a pro player like TenZ or s1mple and just copy them directly. While this can be a decent starting point to see what a reasonable eDPI looks like, it is a huge mistake to treat their settings as a magic bullet.
A pro’s sensitivity is a deeply personal calibration based on their specific hand size, mouse shape, grip style, and thousands of hours of practice. What works perfectly for them is almost guaranteed not to be perfect for you. Use their eDPI as a reference point, but then use the universal method we discussed to find your own unique sweet spot. Building your own raw mechanical skills, like your speed on a CPS test, is just as important as finding your own ideal sensitivity.
The Biggest Mistake of All: Changing Your Sensitivity Too Often
This is the single most destructive habit a player can have. If you find yourself changing your sensitivity every day or every week, you will never build muscle memory.
Muscle memory is your brain’s ability to learn a physical motion so well that it becomes automatic. This process requires thousands of consistent repetitions. Every time you change your sensitivity, you are hitting the reset button on that learning process. You are forcing your brain to start over. It’s like trying to learn to throw a basketball at a hoop that changes height every five minutes. Find a sensitivity that feels good using a methodical process, and then stick with it. Force yourself to play with it for at least a month. This is the only way to build true, lasting consistency.
Frequently Asked Questions (FAQ)
You’ve learned the concepts, the methods, and the myths. But a few specific, technical questions often pop up. Here are the clear, direct answers to help you finalize your understanding of the High DPI vs. Low DPI debate.
What is a good eDPI to start with for FPS games?
Does my screen resolution affect my sensitivity?
What is the difference between DPI and Polling Rate?
DPI tells your cursor how far to move. You can find your current setting with a mouse DPI test.
Polling Rate (measured in Hz) tells your computer how often to check for that movement. You can verify this with a polling rate checker.
Think of it like a car: DPI is your top speed, while Polling Rate is how quickly and smoothly your speedometer updates. For gaming, you always want your polling rate set to the highest possible value (usually 1000Hz) for the smoothest, most responsive feeling.
How long does it take to get used to a new sensitivity?
Conclusion
You now possess the complete pro gamer’s manual for your aim. We’ve journeyed from decoding the confusing jargon of DPI and in-game sensitivity to understanding the single most important metric: your eDPI. You’ve learned the philosophy behind the High DPI vs. Low DPI debate and, most importantly, you now have a universal, step-by-step mission to scientifically discover the settings that are perfect for you. The days of guessing, copying pro player settings, and feeling frustrated with your aim are over.
Remember that gamer from the beginning, the one with the brand-new mouse whose aim was still a mess? That’s no longer you. You are now empowered with the knowledge to calibrate your most important tool with precision and confidence. Your journey to building unshakable muscle memory and consistent, reliable aim doesn’t start tomorrow; it starts right now. Your mission is clear. It’s time to set your foundational DPI, fire up your favorite game, and begin your journey to a perfectly calibrated aim.
What game are you most excited to try your new, personalized sensitivity in?

Hello, I’m John Harbour, a software developer passionate about creating innovative and accessible AI tools. As the creator of cps-checker.com, I enjoy building useful software and writing blogs to help people get the most out of my creations.